Take it easy, sit back and relax
0 Preparation
CodeBlock Loading...
1 Install GsCore
1-1 Install uv
1-1-1 Use pip
CodeBlock Loading...
1-1-2 Use pipx
CodeBlock Loading...
1-1-3 Use official script
CodeBlock Loading...
1‑2 Clone Core
CodeBlock Loading...
1‑3 Install Dependencies
CodeBlock Loading...
1‑4 Run
CodeBlock Loading...
- Web console: Generated upon first startup, default address
localhost:8765/genshinuid, account/passwordroot/root. Be sure to change the password after logging in. - To access externally, change
HOSTinbot/gsuid_core/data/config.jsonto0.0.0.0and restart, or use a reverse proxy forlocalhost:8765.
1‑5 Install Wuthering Waves Plugin XutheringWavesUID
CodeBlock Loading...
1-6 Persistence
1-6-1 systemd
Create a file with the .service suffix in the /etc/systemd/system/ directory and write the following basic content:
CodeBlock Loading...
1-6-2 tmux
CodeBlock Loading...
2 Install NoneBot2 Framework
2-1 Install pipx
CodeBlock Loading...
2‑2 Install Scaffold
CodeBlock Loading...
2-3 Generate Project
CodeBlock Loading...
Select the bootstrap template and press Enter.

Template selection
Enter the project name and press Enter.
Move with ↑ ↓, select with Space. For personal QQ select OneBot V11, for official QQ select QQ (QQ Official Bot), then press Enter.

Adapter selection
Same as above, select HTTPX and websockets drivers then press Enter.

Driver selection
Keep defaults and press Enter.

Default is fine
Install dependencies and virtual environment.

Optional echo plugin.

If not needed, press Enter to skip.
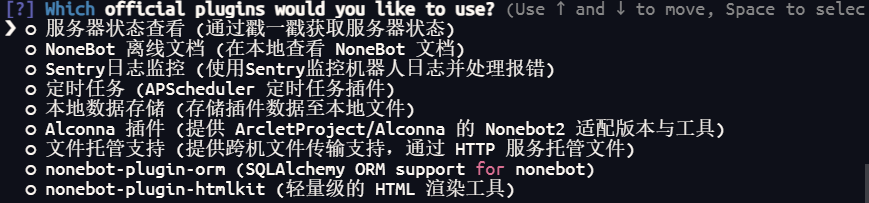
2‑4 Install NoneBot Adapter & Required Plugins
CodeBlock Loading...
2‑5 Run
CodeBlock Loading...
2-6 Persistence
Same as above. Just use tmux.
3 Install AstrBot Framework
3-1 Install via aaPanel
Enter the Docker App Store, search for AstrBot and install.
After successful installation, click Container in the Docker column, find the AstrBot container, click Manage, click Edit Container, and add port 6199 (QQ personal account (aiocqhttp) message platform default port).
Finally, click Security on the left side of aaPanel, and release the corresponding AstrBot port (default is 6185) and port 6199.
3-2 Install via One-Click Script
CodeBlock Loading...
- Web console: Generated upon first startup, default address
http://127.0.0.1:6185, account/passwordastrbot/astrbot. Be sure to change the password after logging in. - For specific configuration, refer to Connect to NapCat
4 Install NapCatQQ Protocol Client
4‑1 Download and Run One-Click Script
CodeBlock Loading...
4‑2 Start
CodeBlock Loading...
4-3 Configure OneBot Service via WebUI
WebUI related information can be configured in /root/bot/napcat/napcat/config/webui.json.
CodeBlock Loading...
- For details, refer to NapCat WebUI Configuration Guide